Joining as a Validator
Becoming a validator is essentially registering your node as a potential validator. Through the joining process, your validator owner and operator keys are registered.
For an understanding of the distinctions between the owner and operator, please consult the Validator Account section for more details.
Please note that it may take up to one epoch (approximately 1 day) for the staking process to be fully completed.
In terms of timing, you can undertake the joining process at any point, even before setting up your node (as discussed in the previous node build section). However, it's essential to remember that staking is not possible without first joining. Hence, the correct order is to join and then stake.
For details on staking, please refer to the staking section. Staking processes are the same for general users. Please note that in order to become a validator, the validator owner must be staked a minimum of 10,000,000 OAS.
Currently, we highly recommend a commission rate of 10% on the mainnet. We don't want validators to compete based on low commission rates. Instead, we encourage competition through game development. This is why we are not advocating for differences in commission rates.
We offer three methods for joining, as described below:
- Web(tools-fe)
- Ideal for those who prefer a user-friendly UI.
- CLI Tool
- Suitable for those who prefer using the command-line interface.
- Note that the Web(tools-fe) above currently supports only a limited number of wallets, such as MetaMask. If you have an unsupported wallet, but it can extract your wallet details, you can process using this tool.
- Contract Direct Calling
- For those who use NSuite or prefer to use bare-bone contract direct calling, please refer to the bottom section on this page.
Web(tools-fe)
Join the PoS network as a validator using the tools-fe web interface.
1. Connect to Your Validator Owner Wallet
First, sign in with your Validator owner account using MetaMask. Make sure your network is set to Oasys Mainnet (currently, Testnet is not supported).
Mainnet
| Title | Value |
|---|---|
| ChainID | 248 |
| Currency Symbol | OAS |
| RPC | https://rpc.mainnet.oasys.games/ |
Once you've connected your wallet, your Validator owner address will be displayed.

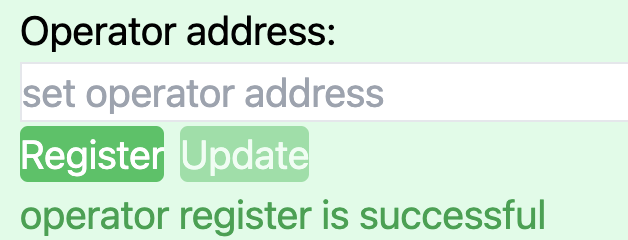
2. Register the Validator Operator
Input the Validator Operator's address and click Register. If you followed the Express Setup, you would have generated the operator address in the earlier validator node building steps. You can find the details here. For those who opted for the manual setup, the details are available here.
Once completed, you'll see a confirmation message indicating success.
3. Staking
Please refer to the staking section for more details.
For Validators who wish to stake using the Oasys Staking (Web) and haven't been listed yet, it's essential to note.
If you are not yet listed, please contact the Oasys BD team. We will provide you with the URL for the webpage to stake.
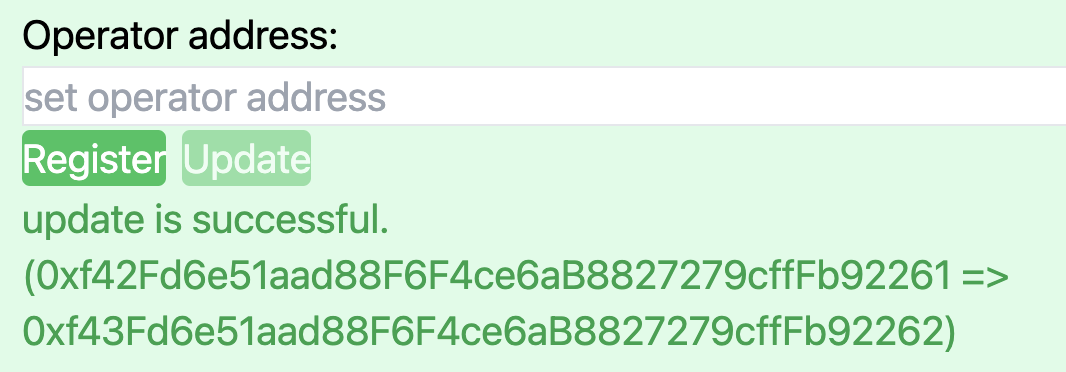
Updating the Operator
You can update the operator address at any time. Regularly rotating your operator address is recommended to enhance security.
Input the new Validator Operator address and select Update.
Once successfully updated, a confirmation message will be displayed.
CLI Tool
You can download the CLI tool from our GitHub repository: https://github.com/oasysgames/oasys-pos-cli/releases
1. Create an Owner Account
Execute the command below to generate a private key for the Owner account. If you already possess an account, you may bypass this step.
$ oaspos crypto:create-account
The following output will be displayed:
Address : 0x0123456789abcdef...
Key     : 0x0123456789abcdef0123456789abcdef...
2. Obtain OAS
Before joining, make sure you have enough OAS to cover the gas fees.
3. Register as a Validator
The operator address is generated in the previous validator node building section. For Express Setup users, it can be found here, and for manual users, it can be found here.
3.1. Export Validator Owner Private Key
First, export your validator owner's private key as follows:
$ export PRIVATE_KEY=0x0123456789abcdef0123456789abcdef...
3.2. Joining as a Validator
Use the following command to join as a validator:
$ oaspos validator:join --network mainnet --operator 0x0123456789abcdef...
Upon successful completion, you will see the following output:
sending (tx: 0x0123456789abcdef)...: success with 130999 gas
The validator:join command enrolls your validator with the staking contract.
3.2 Confirm Your Registration
Verify your registration using the validator:info command. If successful, you'll see the following output:
$ oaspos validator:info --network mainnet

Balance               : 9 OAS
Status                : active
Operator Address      : 0x0123456789abcdef...
Commission Rate       : 10 %
Commissions           : 123000000000000000000 Wei
Jailed Epoch          : 0
Current Epoch Staking : 0 Wei
Next Epoch Staking    : 10,000,000 OAS
4. Staking
Please refer to the staking section for more details.
Update Operator
You can update the operator address at any time. Regularly rotating your operator address is recommended to enhance security.
To update the operator, you need to export your validator owner's private key:
$ export PRIVATE_KEY=0x0123456789abcdef0123456789abcdef...
You can update the operator using one of the following method:
$ oaspos validator:update-operator \
  --network mainnet \
  --operator 0x0123456789abcdef...
Contract Direct Calling
StakeManager.sol is the contract with which you will interact. This contract has been deployed at the address 0x0000000000000000000000000000000000001001 in both mainnet and testnet.
For users who need the ABI, please find it here.
1. Joining
The interface for the joining function is as follows:
- operator: Address of the operator
function joinValidator(
    address operator
) external;
The operator address is generated in the previous validator node building section. For Express Setup users, it can be found here, and for manual users, it can be found here.
It's important to note that the specified address is not the owner address, but rather the operator address. When registering the owner address, the sender of this transaction automatically becomes the owner.
2 Confirm Your Registration
The interface for getting validator information is as follows:
- validator: The address of the
owner - epoch: The epoch for which you want to check the validator's status. It's recommended to set it to
0.
function getValidatorInfo(
    address validator,
    uint256 epoch # If set to `0`, the latest epoch will be used automatically.
) external;
It's crucial to specify the owner's address, not the operator's. Since this is a read-only transaction, you won't incur any gas fees; it's always free. Additionally, the sender is not restricted; any account will suffice.
3. Staking
Please refer to the staking section for more details.
Update Operator
You can update the operator address at any time. Regularly rotating your operator address is recommended to enhance security.
The interface for the update function is as follows:
- operator: Address of the operator
function updateOperator(
    address operator
) external
It's important to note that the sender of the transaction should be the owner.